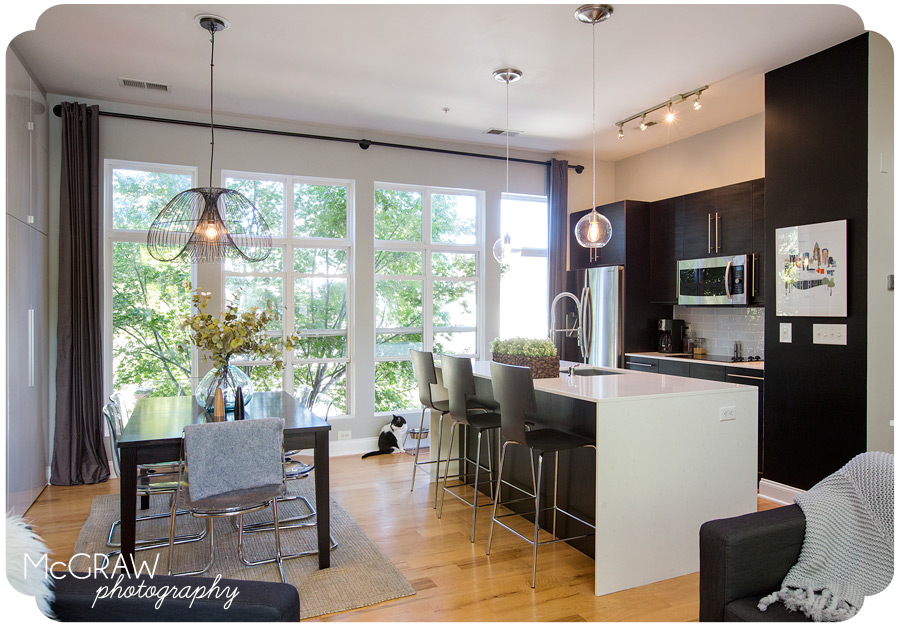
Ok. Ok. Ok. I'm so freakin excited to share our latest renovation with everyone!!!! I know I said this when I shared our guest bedroom reno...this has nothing to do with pet photography. Well, actually, Teton (surprise!!!) is in some of these pictures. He doesn't leave my side. So there. Pet photography! ;)
To give you an idea of the dining room/kitchen space when we moved in, I screen-grabbed these images from the listing. As you can see, we had very little storage, horrible and outdated appliances (actually, the refrigerator didn't work), and gross, worn out cabinets (luckily you can't see the sticky grime that was permanently attached to them). We knew before we bought the place that we were going to redo the kitchen pretty quickly.
This was a slow process that pretty much started as soon as we moved in. As I mentioned, the fridge, aka the big black monster, didn't work so it was replaced right away. While we waited over a week for delivery, we had to use a cooler filled with ice. It was great! Haha! We went with a counter-depth fridge to give us more walking space.
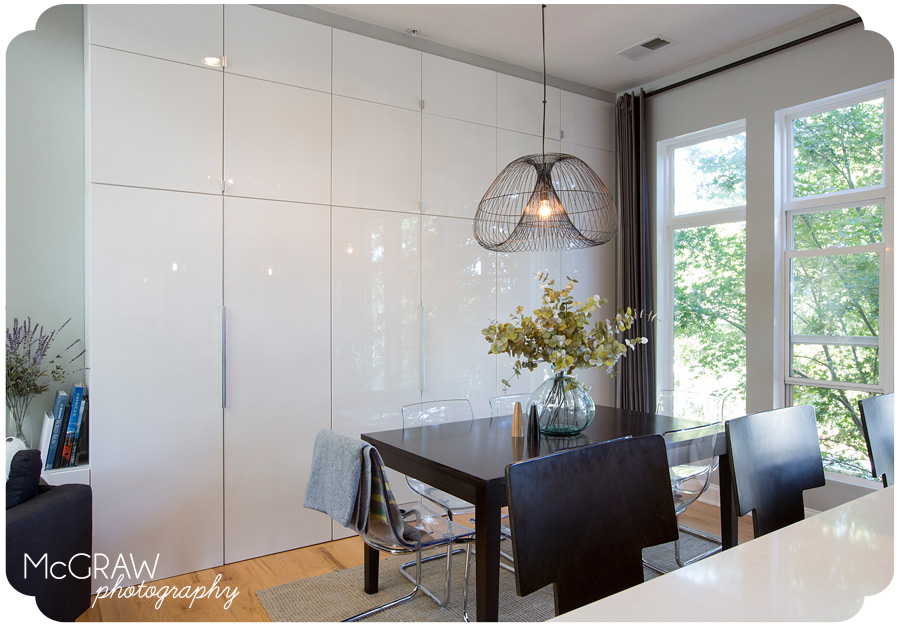
The next thing we did was add a wall of cabinets in the dining area. We went from a 2,600 sq ft house to a 1,026 sq ft condo so we needed to add quite a bit of storage. This serves as our pantry and holds random stuff like luggage, small appliances, the ironing board, vacuum, and even my office. Yes, my office. When you live in a small space, everything has to do double duty! My computer fits nicely inside the cabinet on the left. My mouse and keyboard are on a slide-out shelf and I just pull up a chair from the dining room table during working hours. After the workday is complete, it all gets tucked away nice and neat!
The kitchen was done in phases. The first phase was the back wall. We had a great time removing the granite counters...hahaha...all by ourselves. Tearing out the glass tile was also a fun time! ;) The best part was removing the cabinets and reconfiguring to correct some of the storage issues. We added a full-size cabinet above the fridge as well as huge drawers below the cooktop.
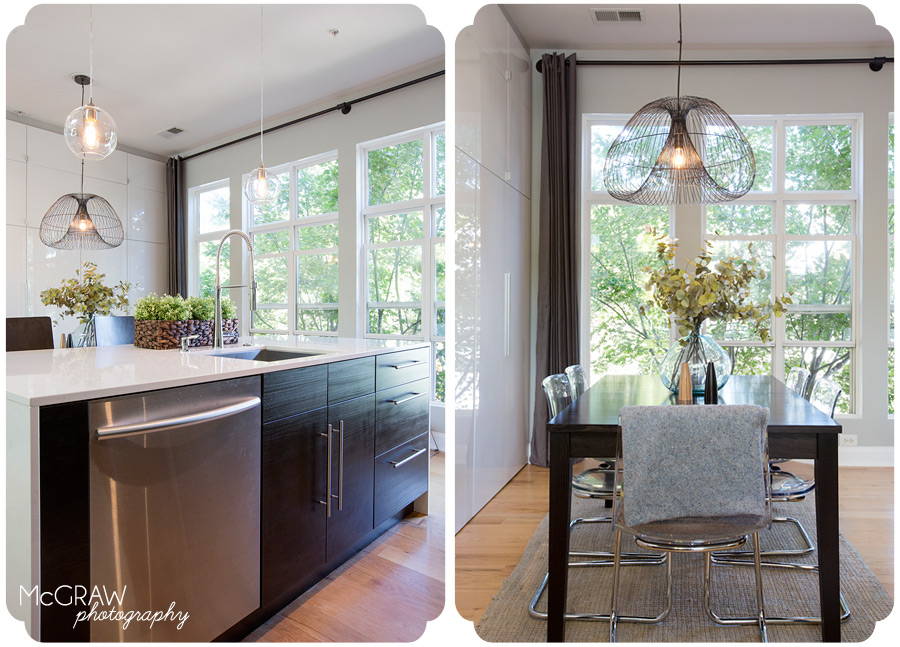
The island was a very, very huge challenge. I wanted it to look free floating without seeing the pony wall that was originally there. However, if we removed the pony wall, floors were going to be missing. Since those weren't going to be redone for quite some time, we had to leave most of it. We removed one of the pony wall sides and were able to put in bigger cabinets...drawers actually. The bigger cabinetry covered up the missing floors. Yippee! We wrapped the island in a waterfall quartz countertop and added a cover panel on the bar side. My dreams of having a waterfall counter were finally fulfilled (after many confused looks)!!!
We put in a new sink and faucet!!!! Gosh. I wish I had a better before picture of what was there. It was horrible. I'm so obsessed with the new industrial-looking combo.
Oh, and on the right you can see the new glass subway tile, drawers, and convection microwave. And no, we don't have an oven. None of these units do. We originally thought we'd add one, but, after living a year without one, the convection microwave was really all we needed. So we decided just to upgrade ours. It's pretty cool living in a small space and really sitting down and analyzing what you truly need. :)
The little touches like paint, lighting, curtains, etc were added over the past year of living here. Oh, and a full-size dishwasher. We had a mini version when we moved in and that was not something we could compromise on.
And a few before-and-afters...
One of the things we love most about our new place is all of the natural light from the wall of windows. That's my favorite tree in the whole wide world out there...Lief, a Japanese Maple. She gives us privacy and a relaxing view with amazing color. I feel that the new design frames her nicely. :)
Details...
Dining Room cabinets - Besta cabinets from Ikea
Chandelier - Crate & Barrel (added with a recessed light conversion kit from Home Depot)
Curtains - Ikea (our ceilings are 10-feet tall so we were glad to find these beasts)
Curtain rod - a DIY project
Kitchen cabinets - Ikea
Counters - Quartz counters from Home Depot
Tile Backsplash - Lowes
Sink - Lowes
Faucet - Lowes
Bar Pendants - Home Depot (super-cool ones that screw into recessed lights)
Track light - Lowes (just a temporary fix...not in love with it)
Paint - Martha Stewart from Home Depot and chalkboard paint from Lowes
Charlotte Skyline Print - Etsy (they have other cities too)
gosh...the only thing we kept were the garbage disposal and cooktop!
Let me know if you have questions or want to know more!!! :)


